Commercial & Residential Pool Builders Richmond
Pool Builders Richmond, VA and Surrounding Areas
You and your designer have finalized the details of your pool and/or spa and now it is time for the Douglas Aquatics crew to execute the project.
This outline details the construction process and provides answers to potential questions that might arise during the different phases. Please reference the outline as you move from phase to phase.
The staff at Douglas Aquatics understands that any construction project will cause some disruption but please be patient and rest assured that we will make every effort to complete your pool project as rapidly and smoothly as possible.
During the construction period, you will see the excavation crew and equipment driving across your property, digging a hole and creating lots of dust.
Everything will appear disorganized and unsightly; most of this cannot be helped.
Let us assure you that we want to finish the pool as soon as possible and will complete it in accordance with the contract. We schedule our crews for all of the phases not only for your project but other jobs that are under construction at the same time.
So please don’t be concerned if you do not see our men every day.
Our Construction Manager will be stopping by regularly to inspect the project.
If you have any questions, please contact your designer at 804-232-POOL (7665) or our form online.
Once again, all of us here at Douglas Aquatics, Inc. look forward to building your pool.
-
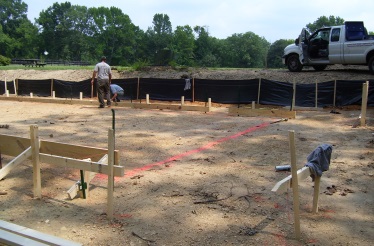
Preparations
The pool site area and access route from the street should be cleared of trees, shrubs, sprinkler lines, tools and any other above-ground obstructions as the excavation equipment will otherwise destroy them. You should remove any trees, shrubs, potted plants or other plantings to be saved, prior to the excavation date. Your replanting should be done after all construction has been completed. Do not water in the pool area for several weeks before the scheduled excavation date, as a wet access or pool site area will cause delays in the job and the possibility of additional charges (except wetness due to rain).
-
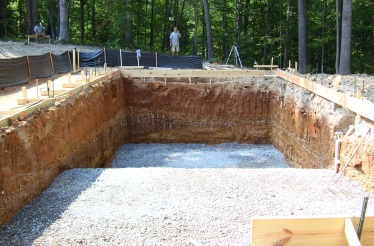
Excavation
During this stage, the earth from your pool is removed. It is either hauled away or kept on site for backfilling, as necessary for the later phases of construction, depending on what your contract stipulates. With normal soil and access conditions, excavation will be completed within one to two working days. It is important that you or your representative be available during this operation in case an unknown obstacle is unearthed. If such a problem develops, our staff will want to consult with you.
-

Plumbing
After the pool has been excavated, we will install the plumbing from your pool to the filter system. The main drain line(s), return line(s) and floor fittings are stubbed in and the skimmer(s) are secured. All the plumbing will be pressure tested to assure that there are no leaks in the system. They will be kept under pressure throughout the construction process. Should the pressure go down at any time, we will check for any damage to the plumbing line(s).
-
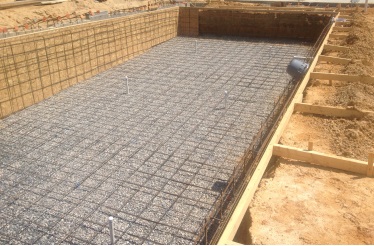
Steel
Reinforcing steel bars are placed to strengthen the concrete shell. The steel is shaped to the pool’s design and extra steel is used at points of high stress. The reinforcing steel is securely tied in place and the bars are blocked up from the dirt.
-
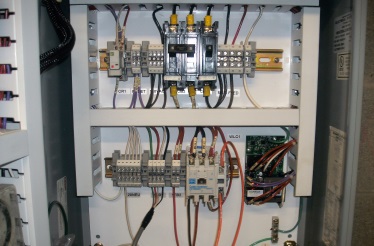
Electrical
The electrician can begin work immediately after the pool and/or spa steel is completed. Please have your electrician contact our Construction Coordinator upon applying for the electrical permit so we may coordinate our efforts.
-
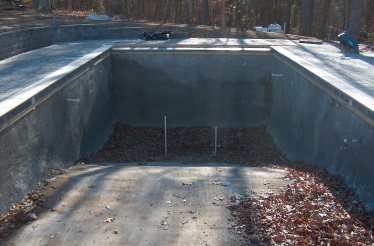
Concrete
Our crews will arrive early in the morning, set up their equipment and await the arrival of the concrete trucks. You may want to notify your neighbors to move their cars off the street and to close their windows on this day, as well as keeping your own windows and doors closed to protect your home from the dust that is created while the equipment is in operation.
-
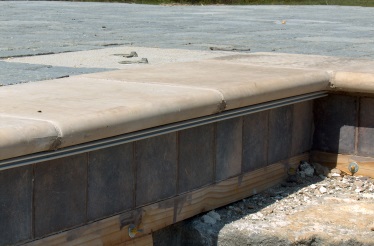
Tile & Coping
Tile will be installed as per your choice in the contract. Do not walk on the tile, drag the hose over it, or tamper with it, as the grout underneath will be soft for several days. If you are still watering down the surface area of the shotcrete the day the tile is installed, avoid watering the tile line for the first 24 hours after it is installed.
-
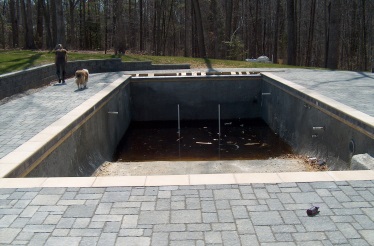
Pool Decking
At this point the area surrounding the pool will be rough graded in preparation for the deck. In most cases, all the trenches will be filled in. Before pouring the deck, in addition to the piping and wiring, anchors for ladders, grab rails and handrails will be set and jigs or standards for diving boards must be installed. The installation of the above items MUST be taken care of before your deck contractor pours.
-

Fencing
Building codes require that fences around yards be at least 48 inches above grade with a maximum vertical clearance between grade and bottom of the fence to be no more than 2 inches. The code also states that the access gate shall be equipped with a locking device. Pedestrian access gates shall open outward away from the pool and shall be self-closing and have a self-latching device, with the device being located at least 54 inches above grade.
-
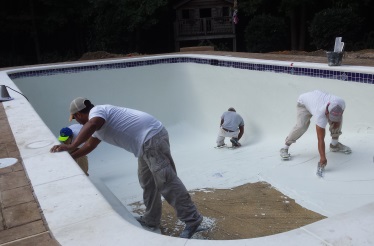
Plaster
The plaster crew will set your garden hose in the bottom of the pool and begin to fill the pool with water as soon as they complete plastering. You want to fill a freshly plastered pool uniformly from the bottom to the top without interruption – this usually takes 24 to 48 hours. Do not turn the water off until the level has reached the middle of the water-line tile. This is to prevent the formation of a ring (like a bathtub ring) on the plaster. If you have a spa, there will need to be a second hose provided; do not turn the water off in the spa until the level has reached the middle of the spa water-line tile.
-
Start-up
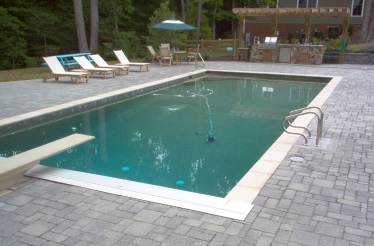
Once your pool water is balanced, your sales designer will schedule an appointment to meet with you. The sales designer will instruct you on the operation of your filter system. You will also be given your warranty information on your pool equipment as well as a set of filter instructions to keep for your records.
-

Final
You will need to schedule an appointment with your electrician so they may have the final electrical inspection called in to your local building department. Once that is done, we will contact you to schedule an appointment for the final inspection with the local building department. Following this last inspection the signed permit will be yours to keep.


